How to Set Up a Solar-Charged Polywire Paddock
Paul Luna, Noble ranch manager, details how to set up a solar-charged polywire paddock and shares a few tips and tricks he’s learned along the way.
4 Things to Consider Before Building Your Paddock
- Before installing a large paddock, train your cattle on the polywire line by setting up a small electric fence near a watering trough. Remember, polywire is only a psychological barrier.
- Look at the grade of the area where you are going to build your paddock. Grade will determine the kind and number of posts you use.
- In some cases, you may need to add a second polywire line below the main one, especially where stockers will rest and in low-lying areas where cattle could travel under a single line.
- Weight of stockers, number of head, stocking density and forage availability are the main determining factors when deciding the size of the paddock.
Worth the Investment
A geared fence reel can save time when stringing fence and reduce repetitive stress on your shoulder. You also can use it to run polywire off the back of your side-by-side for larger installations.
Purchase a larger solar charger than you think you’ll need.
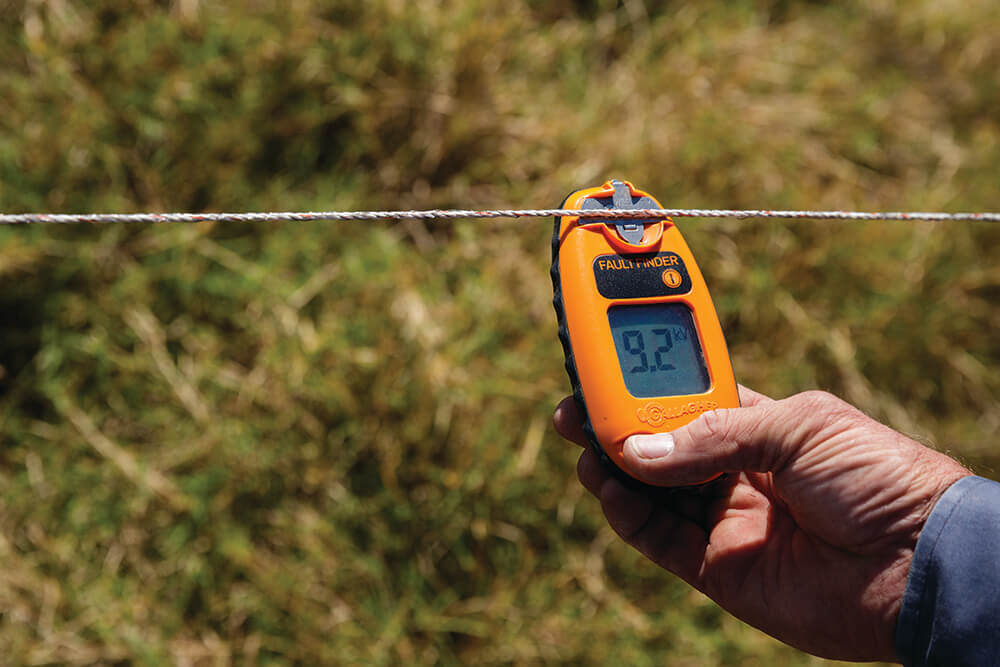
A good fault finder is worth the extra expense.
Materials:
- Electric gate handle
- Fiberglass posts
- Drilled fiberglass corner posts for corners and ends of gates
- Double foot tread-in fence posts
- Metal T-post for charger (optional)
- Insulated wire
- Turbo wire or polywire
- Geared fence reel
- Grounding rod
- Solar charger with battery pack
- Fence charger alligator clips
- Fault finder
- Survey flagging tape
Building the paddock:
- Connect a gate handle to the end of your polywire wound on a geared fence reel.
- Attach the gate handle to a permanent fence or t-post using an insulated wire at desired wire height for the paddock.
- Place a drilled fiberglass corner post on the other end of the gate.
- Wrap the polywire through drilled hole at the desired height for the wire and then around the top of the corner post.
Tip: Paul uses a polywire height of 36 inches for cows and 33 inches for stockers
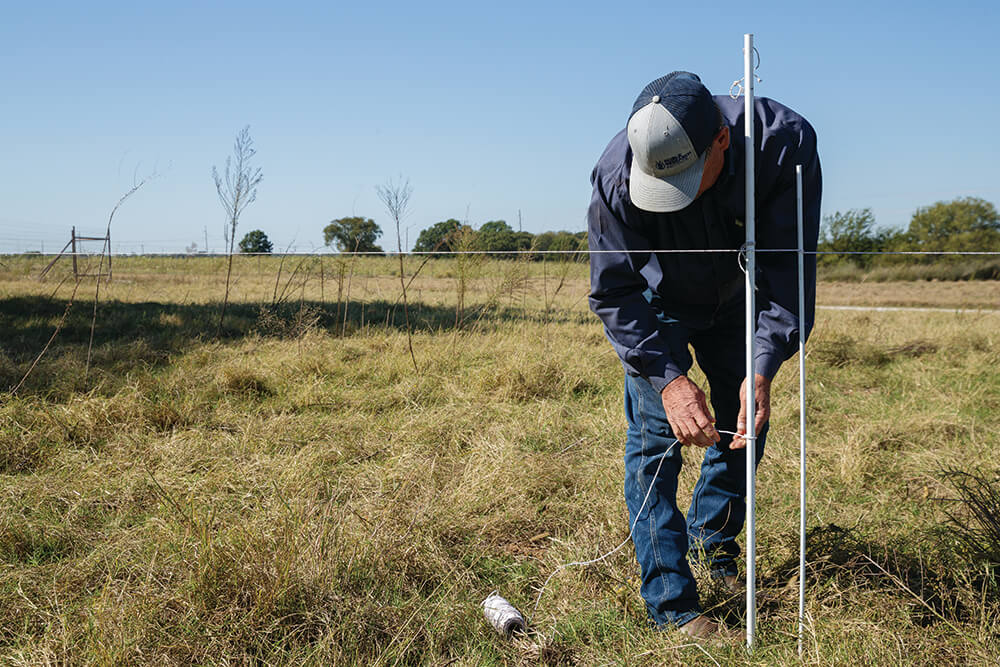
- Drive another corner post into the ground at the next corner of the paddock, repeating the tie process.
Tip: Survey flagging tape helps the polywire line be more visible to you and the cattle. Also use tape near forested areas and shaded areas where cattle might rest.
- Tighten the slack on the polywire so the line does not dip.
- Place fiberglass fence posts 10 to 11 yards apart between the two corner posts.
Tip: For low lying areas use a tread-in post instead of a regular post. This will insure that the line stays at the recommended height no matter the grade of the land.
- Repeat the process until you get to the last side.
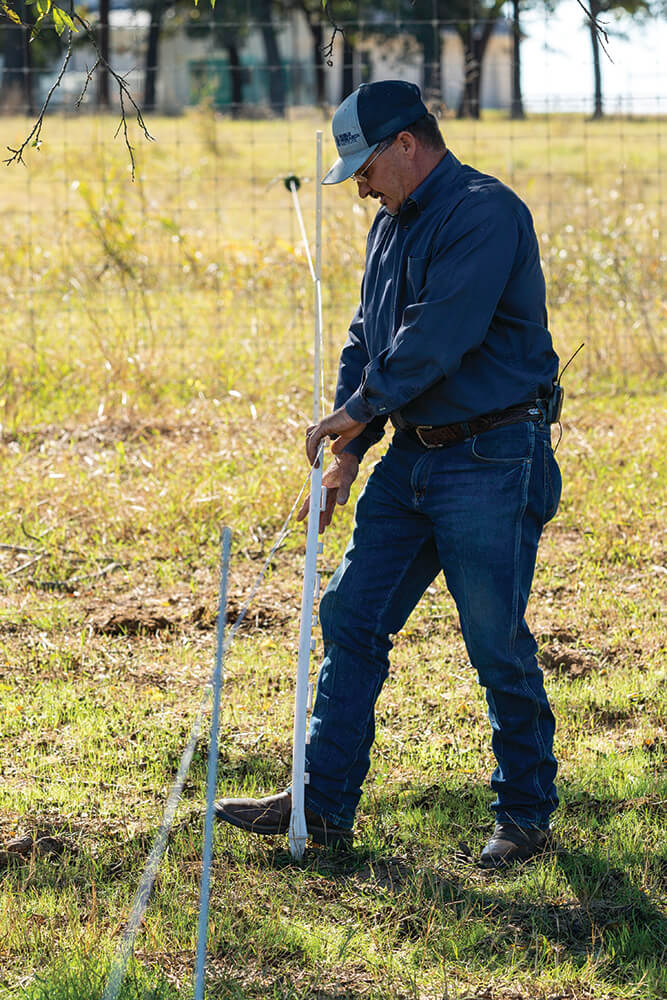
Tip: If forage is high or wet use your side by side to push down the path where your polywire fence will go.
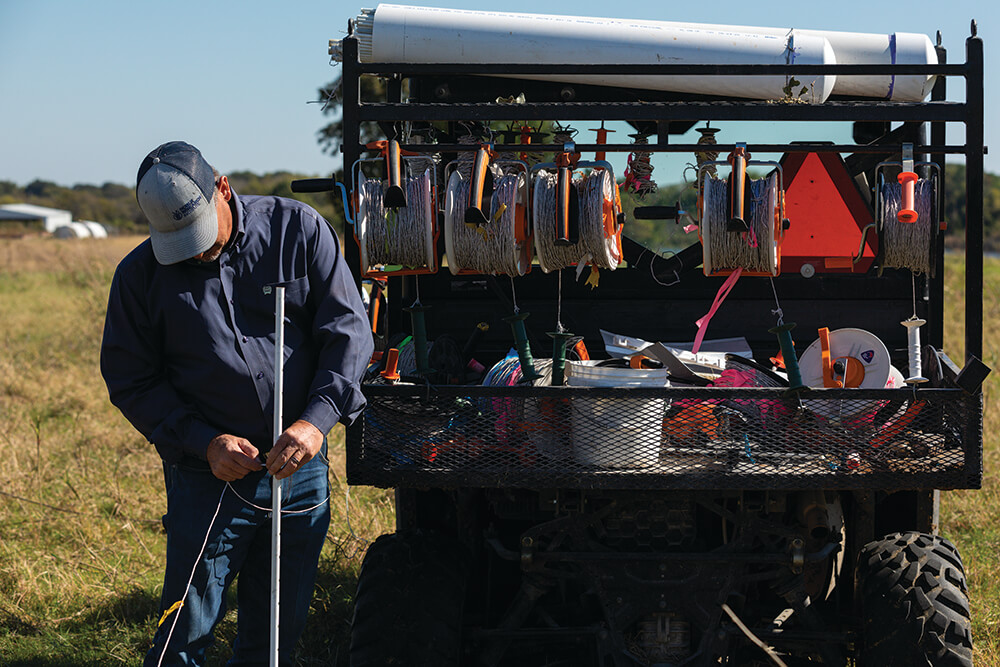
- Using the fence reel to make a second gate between the last corner post and the permanent fence may be an option, depending on location and number of paddocks you are building. Place the reel in the locked position and hang from the permanent fence.
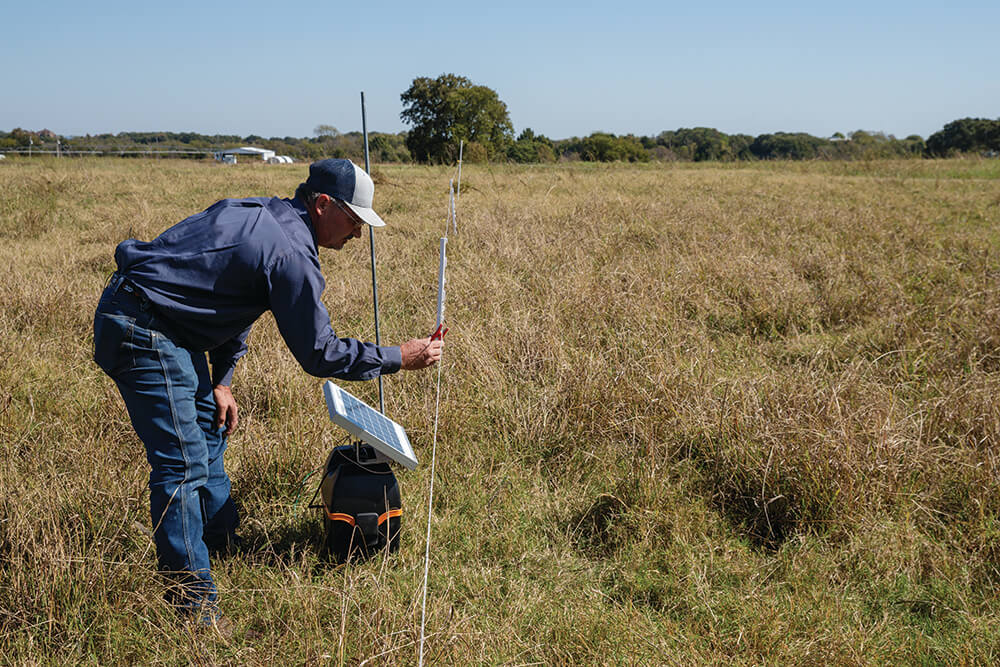
Connecting the charger:
- Hammer the grounding rod into the ground outside the paddock near the permanent fence and where you are connecting your solar charger.
- Drive a T-post in the ground if your charger has a T-post mount. Otherwise, place the charger on the ground, and face and angle the solar panel for the most sunlight exposure, usually to the south in U.S. locations.
- Connect the positive post of the charger to the paddock fence wire with the positive alligator clip, and the negative post to the grounding rod with the other clip.
- Turn on the charger and test the voltage. If your voltage is lower than 4 kilovolts, use your fault finder to determine where the issue is.

Want more regenerative content?
This article originally appeared in an issue of Legacy Magazine, Noble’s award-winning publication offering insight into research on regenerative ranching, industry news and networking opportunities for ranchers.
Subscribe for free today and we’ll deliver future issues of Legacy directly to your mailbox.



Comment