Collecting Rainwater Has Many Benefits
Whether you want to water your backyard garden or have easy access to water for your livestock, setting up a rain barrel is a DIY project you can accomplish with only a few tools and at little cost in materials.
A rain water collection system is a great way to cut the cost of your water bill and use your land’s resources more efficiently. Whether you want to water your backyard garden or have easy access to water for your livestock, setting up a rain barrel is a DIY project you can accomplish with only a few tools and at little cost in materials.
Materials
- Barrel (wooden or food-grade plastic)
- Gutter material
- Y gutter diverter
- 3/4-inch male brass hose bibb
- 3/4-inch female PVC adapter
- Gutter screws
- Gutter outlet flange
- Landscape garden fabric (a window screen can also be used)
Tools
- Drill
- Spade bit
- Oscillating saw or hacksaw
- Roll of plumber’s tape
- Tube of silicone
- Utility knife
Directions
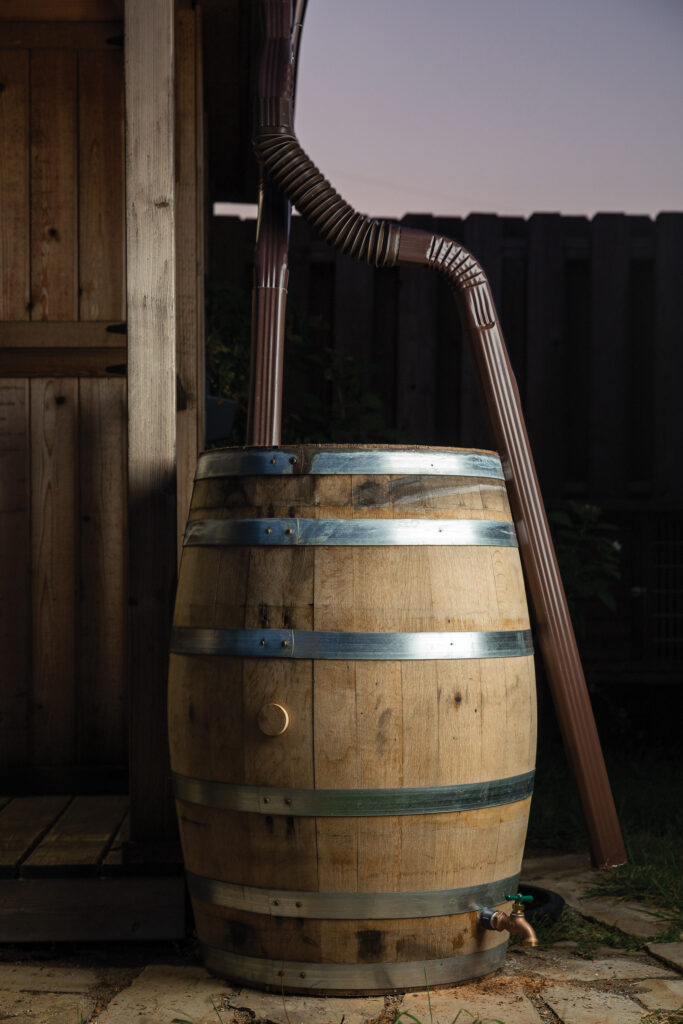
Step 1: Install gutters alongside the roof of a building. The gutters should have a downspout installed directly above where the rain barrel will be placed. Be sure to properly pitch the gutters so that rain water flows to the barrel.
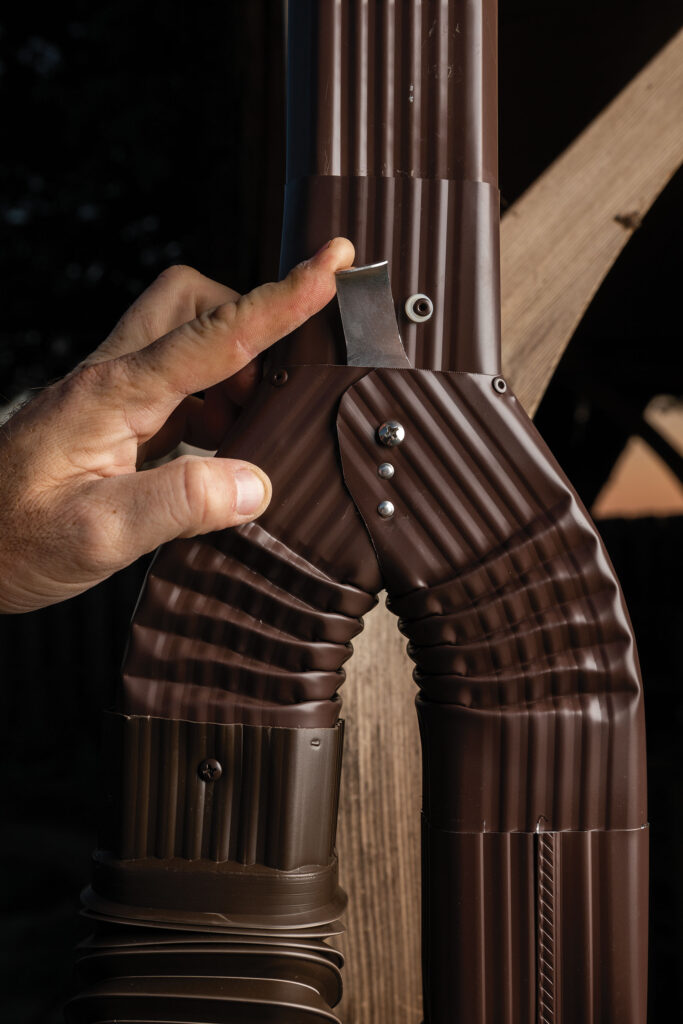
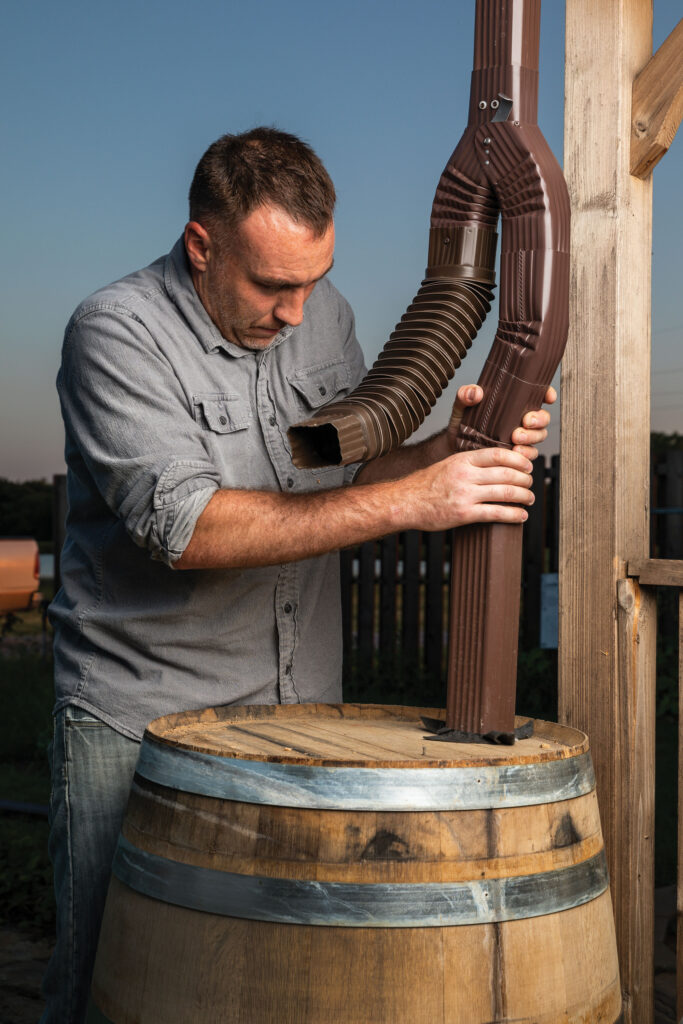
Step 2: Install downspout and Y gutter diverter. The diverter directs the flow of rain water away from the barrel when it is full.
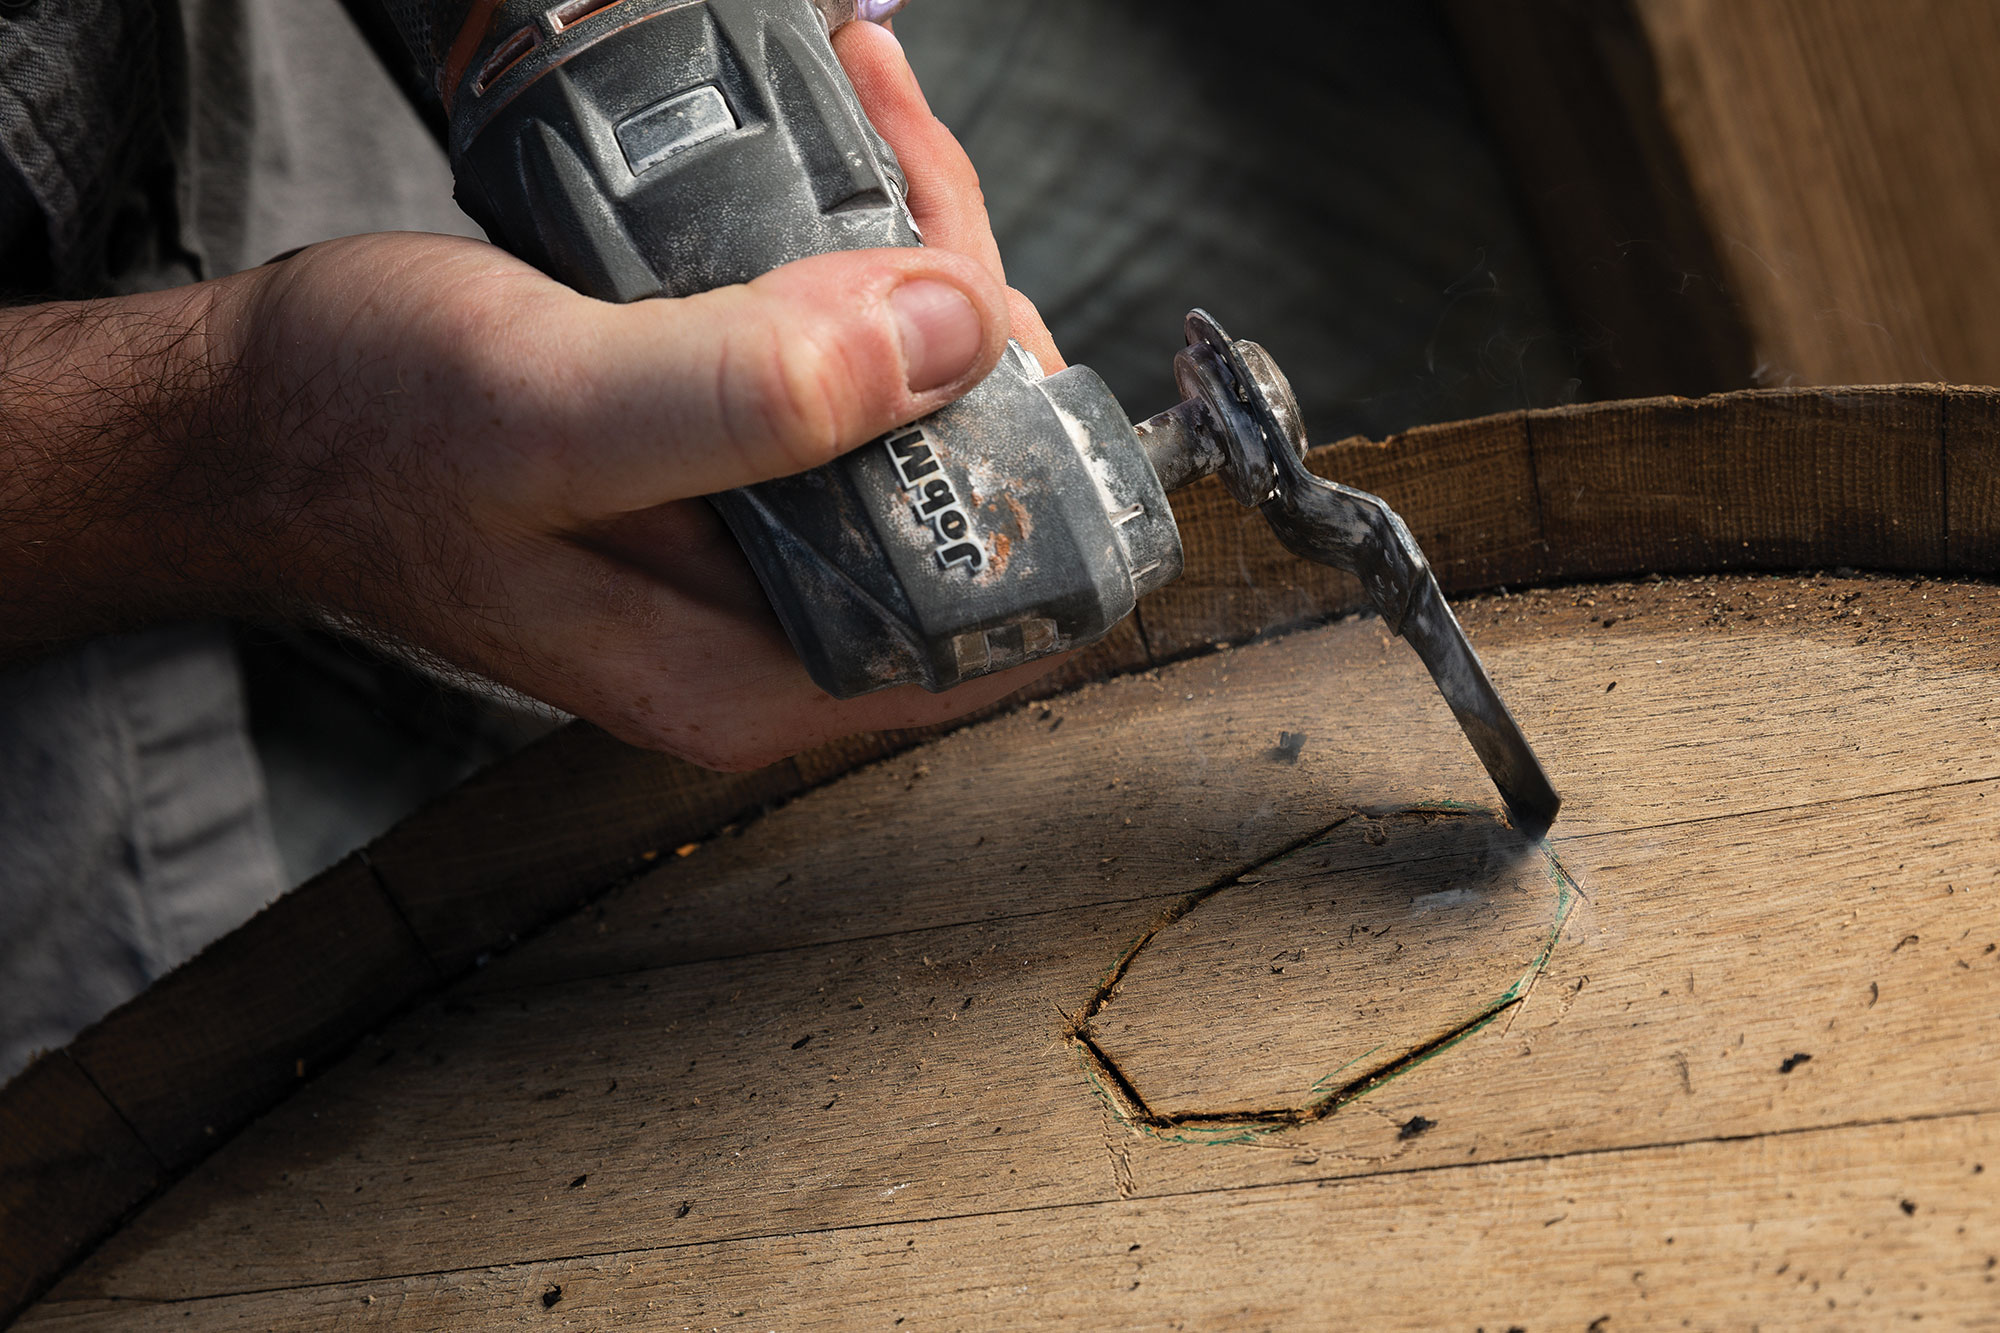
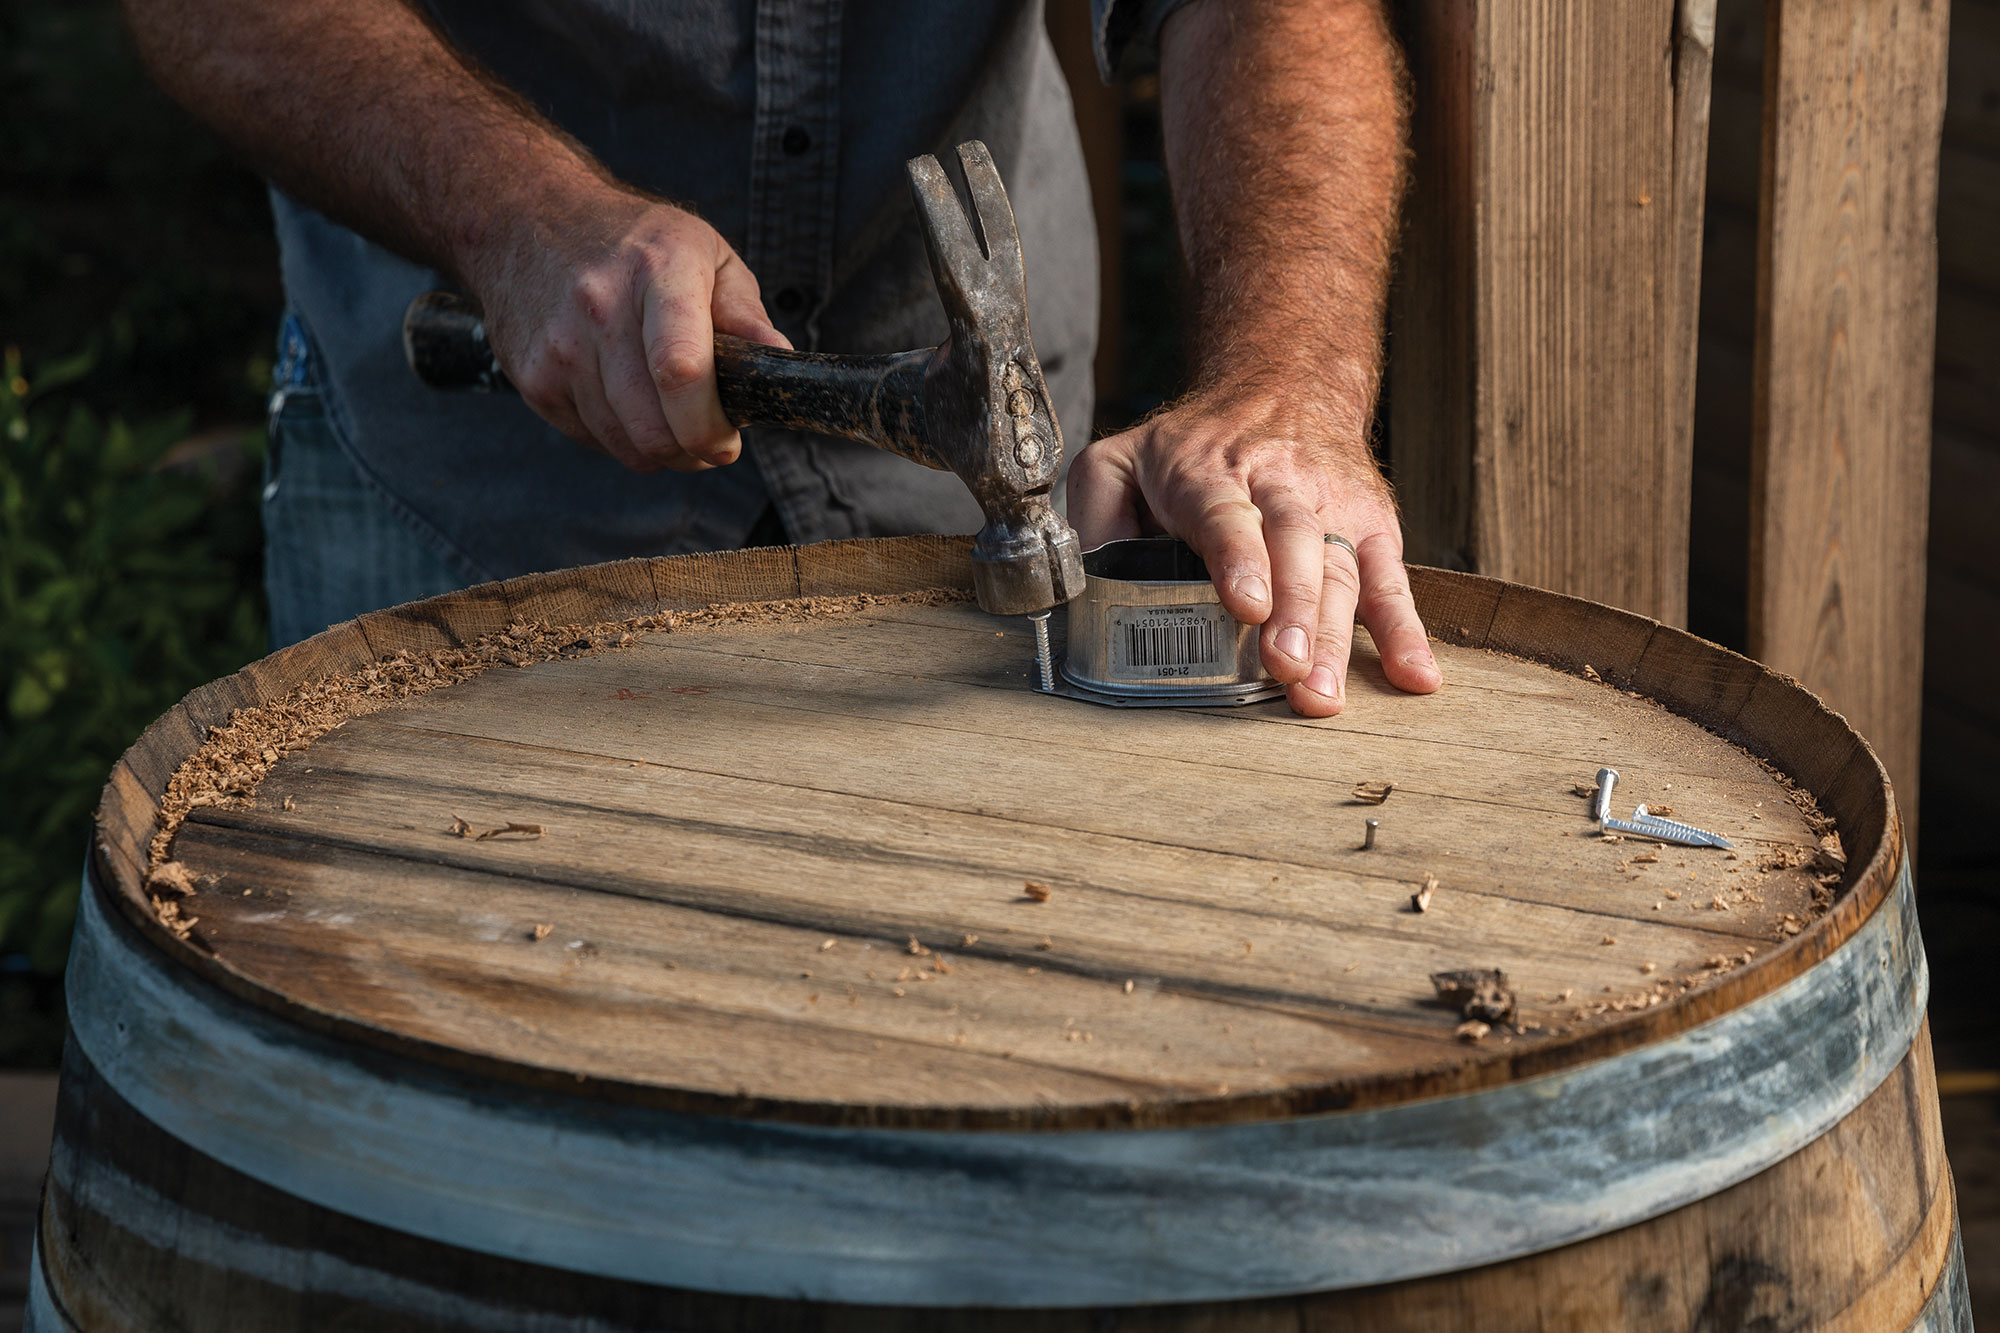
Step 3: Line up the barrel and the gutter downspout. The barrel should be placed on flagstones or gravel to deter rotting of the bottom of the barrel. Place the gutter outlet flange upside down and draw around the flange onto the barrel. Cut the area out and use gutter screws to secure the flange to the barrel.
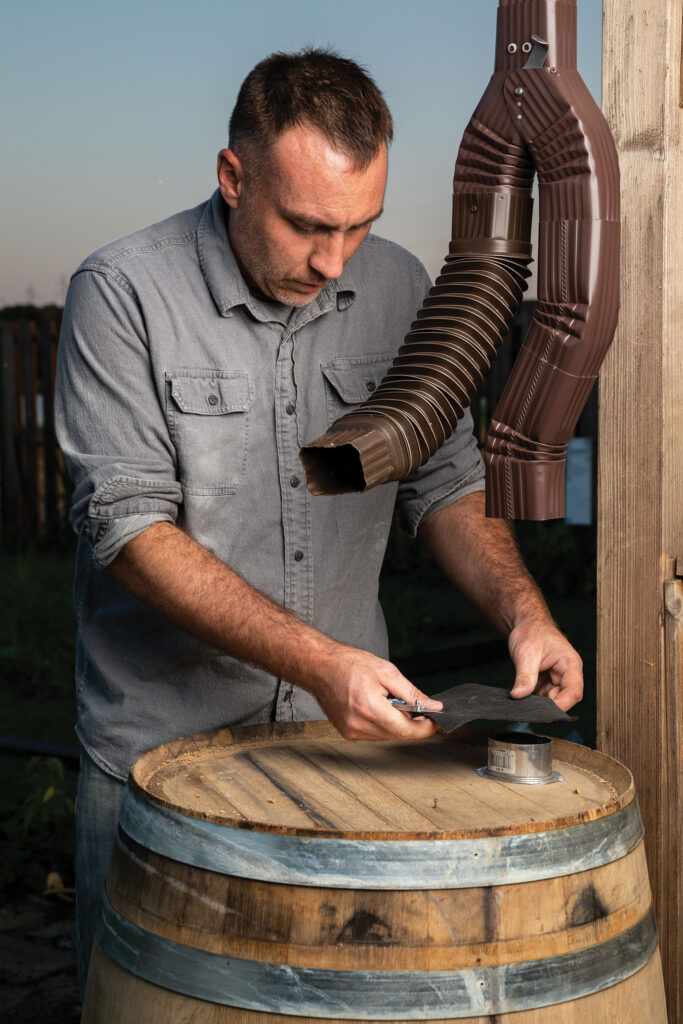
Step 4: To keep mosquitoes and debris from collecting inside the barrel, place landscape garden fabric or window screen over the flange and cut the excess with a utility knife.
Use the extra gutter downspout material to connect the gutter to the flange. The downspout will need to be removed occasionally to clean off the debris from the landscape fabric.
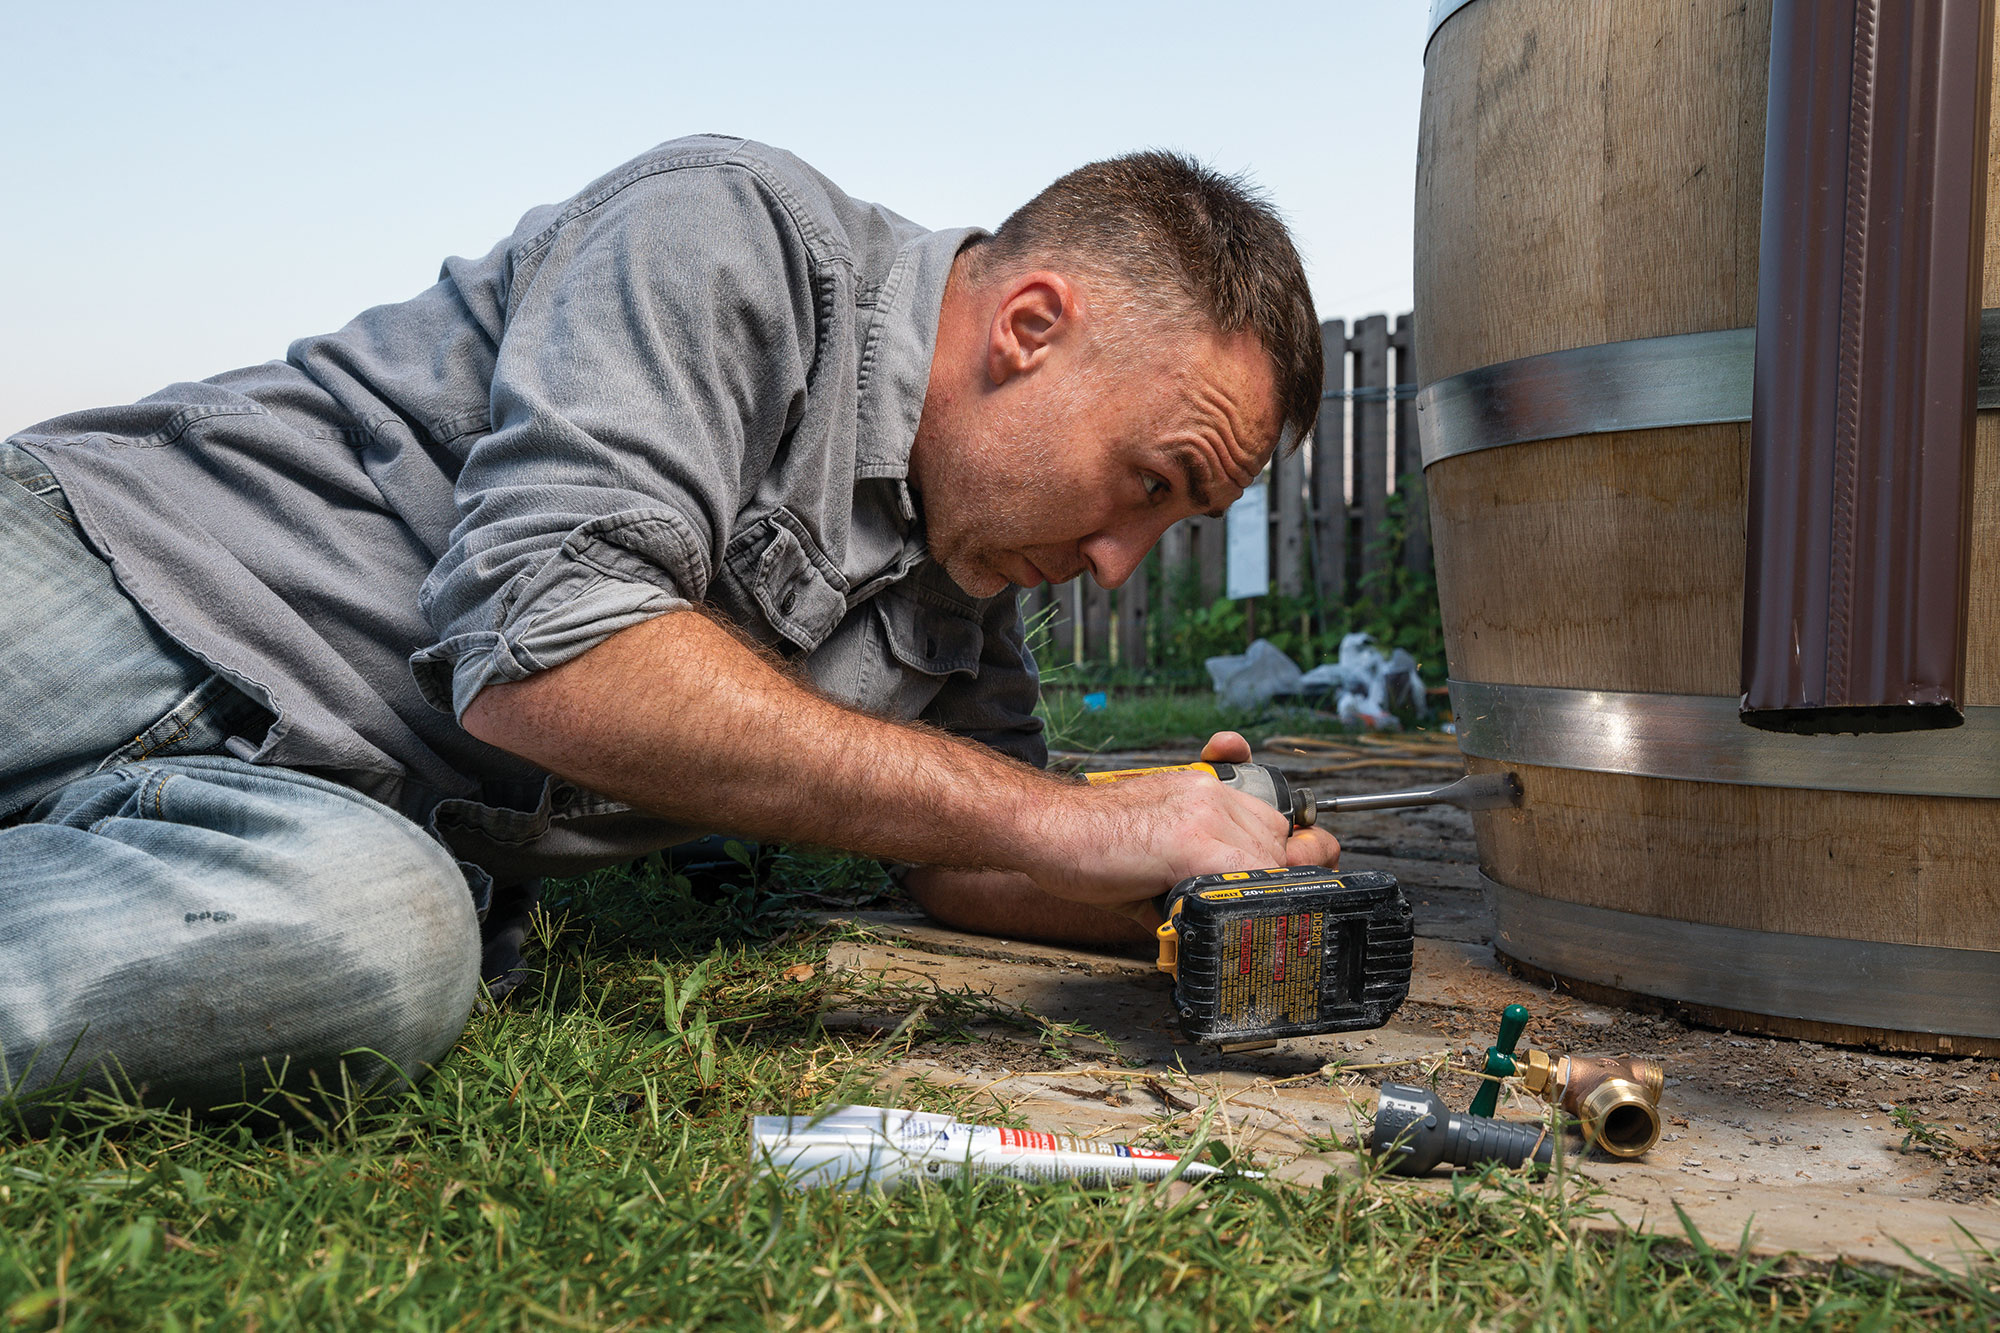
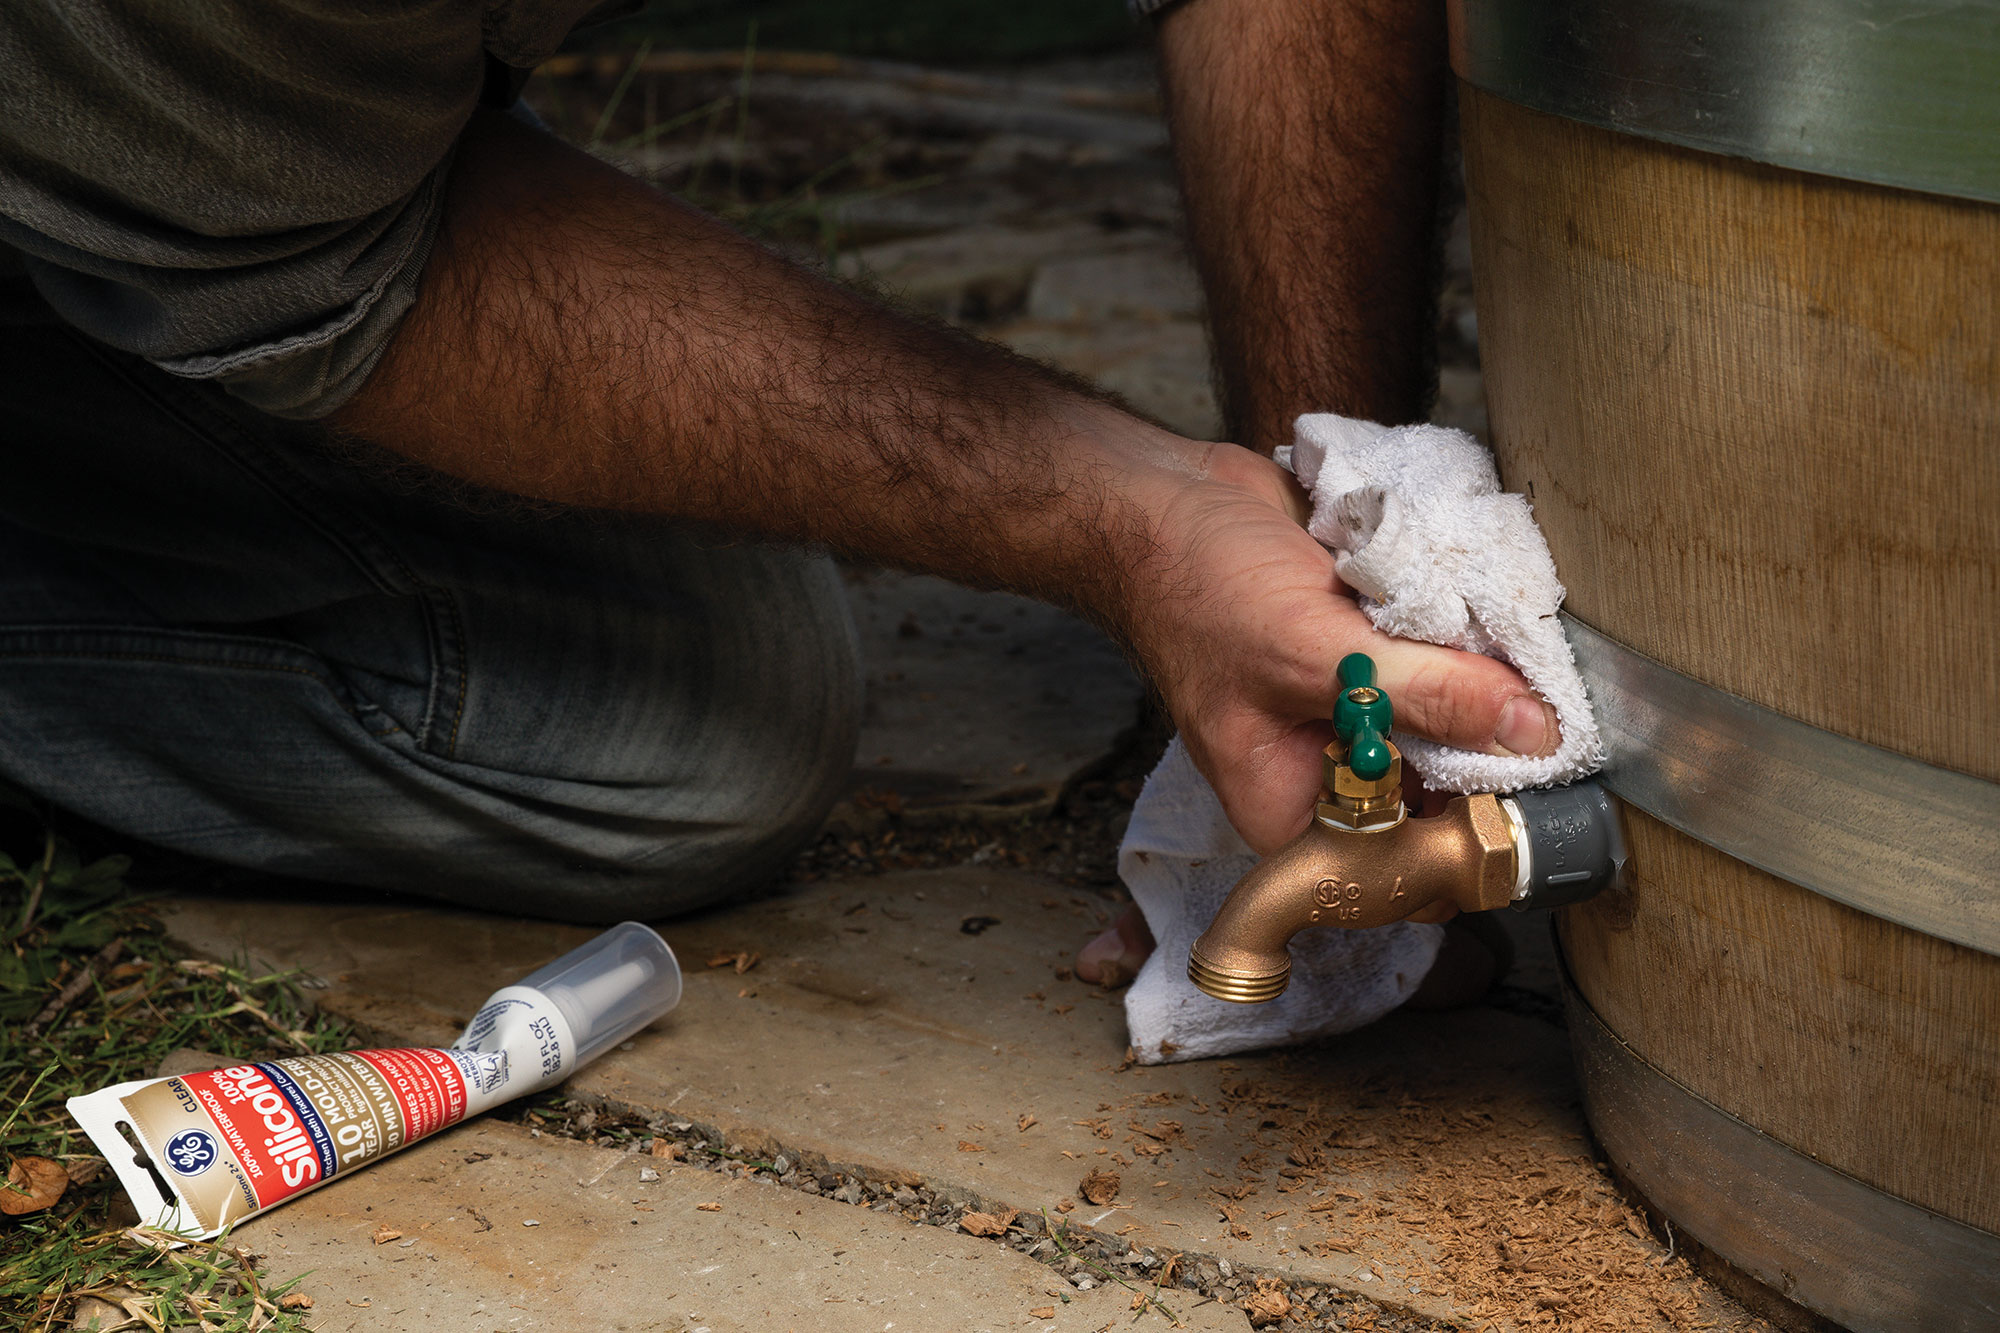
Step 5: The last step of the process is to install the hose bibb. The hose bibb should be placed at the bottom of the barrel with enough room for a hose to connect to the bibb. Draw a circle around the female end of the PVC adapter and cut out the circle using the spade bit. Cover the adapter with waterproof silicone and slide the adapter into the hole. Then wrap plumbers tape in a counter-clockwise motion around the threaded end of the bibb. Screw the bibb into the adapter.
Get More From Your Rain Barrel
A few rain barrel best practices and upgrades can help increase water pressure and capacity of your system.
- Do not collect rain during the winter months because frozen water can damage the barrel.
- Set the rain barrel off the ground with cinderblocks to increase the water pressure of the barrel and prevent the barrel from rotting.
- If you are collecting rain off a house or barn, consider connecting multiple rain barrels together. The barrels can easily be linked using 1/2-inch PVC pipe, silicone and an adapter at each end.
Josh Meo serves as a graphic designer in the Noble Research Institute’s communications department. While living in Indiana, Meo developed a system that diverted rainwater running off the roof of the family chicken coop into watering troughs from which the chickens drank. Meo and his wife, Jennifer Meo, and their three children, now live in Dickson, Oklahoma, and are building a house on 11 acres of primarily wooded land.



Comment